
Have you ever wondered how you can bring your creative ideas to life with cutting machines? The Silhouette Cameo 4 is a powerful tool that can help you transform your projects from mere concepts into tangible creations. Whether you are crafting custom stickers, intricate designs, or personalized gifts, finding out how to use this machine effectively can open a world of possibilities for you.
What is the Silhouette Cameo 4?
The Silhouette Cameo 4 is a cutting machine that uses a blade to cut various materials, including vinyl, cardstock, and fabric. It’s popular among crafters and small business owners for its versatility and precision. With its innovative features, the Cameo 4 allows you to make your projects in a way that was once only possible with professional equipment.
Key Features of the Silhouette Cameo 4
Understanding the features of your Silhouette Cameo 4 is crucial as it can help you utilize the machine more effectively. Here are some key features to consider:
| Feature | Description |
|---|---|
| Dual Carriage | The machine can hold two tools, allowing you to cut and sketch in one go. |
| Increased Cutting Force | With improved cutting force, this model can handle thicker materials with ease. |
| Auto Blade | The auto-adjusting blade makes it easier to switch between materials without manual adjustments. |
| Faster Cutting Speed | The Silhouette Cameo 4 cuts faster than its predecessors, saving you time. |
| Touchscreen | A user-friendly touchscreen interface makes navigation intuitive. |
These features can significantly enhance your crafting experience, making the Silhouette Cameo 4 a worthwhile investment.
Getting Started with Your Silhouette Cameo 4
Once you’ve unboxed your Silhouette Cameo 4, the next step is to set it up and familiarize yourself with its components. This initial stage is essential for understanding how your machine works.
Unboxing and Assembly
When you receive your Silhouette Cameo 4, it comes with various components you will need for immediate usage, such as cables, a power supply, and the cutting mat. Follow these simple steps to get started:
- Remove all contents from the box and check the included items against the manual.
- Place the machine on a sturdy surface with adequate space around it.
- Connect the power supply to the machine and plug it into a wall outlet.
- Turn on your machine by pressing the power button.
After powering it up, the touchscreen should light up, inviting you to take on your crafting journey.
Installing Software
To communicate with your Silhouette machine, you will need to install the Silhouette Studio software. This software is where you design your projects before sending them to the machine.
- Visit the Silhouette America website and download the Silhouette Studio software.
- Follow the instructions to install it on your computer.
- Open the software once the installation is complete.
With the software installed, you can begin creating designs that you’ll cut with your machine.
Understanding Silhouette Studio
Silhouette Studio acts as the control center for your Silhouette Cameo 4. It’s user-friendly but packed with features that might take some getting used to. Let’s break down its primary components.
User Interface Overview
The layout of Silhouette Studio is intuitive, with several tabs and toolbars. Familiarizing yourself with these components will enhance your design experience.
- Design Area: This is your workspace where you will create your designs.
- Toolbox: Located on the left, this toolbox contains tools you’ll use, such as drawing shapes, text, and modifying designs.
- Library: Your designs, images, and any purchased designs are stored here.
- Page Setup: This allows you to adjust your cutting mat size and orientation.
Getting comfortable navigating this interface will make the design process more enjoyable.
Creating Your First Design
To create your first design, you can either import an image or create one from scratch.
- Open Silhouette Studio and start a new document.
- To import an image, click on the “File” menu, then “Import,” and select your image.
- Use the drawing tools in the toolbox to create your own design. You can draw shapes, add text, and more.
- Once satisfied with your design, resize and position it on the page setup.
Take your time to experiment. The more you use the software, the better you’ll understand how to leverage its features.
Cutting with Silhouette Cameo 4
Once you’ve prepared your design in Silhouette Studio, the next step is to cut your material. Understanding this process is vital for producing quality craft projects.
Choosing Your Material
The Silhouette Cameo 4 can cut various materials. Here is a list of common materials you can use:
| Material | Suitable for |
|---|---|
| Vinyl | Great for making decals and stickers. |
| Cardstock | Perfect for creating cards and paper crafts. |
| Fabric | Use with a stabilizer for fabric projects. |
| Rhinestone Template | Ideal for rhinestone designs and applications. |
| Heat Transfer Vinyl | Best for creating custom apparel or fabric items. |
When choosing your material, consider its thickness and the type of project you’re working on.
Preparing Your Cutting Mat
Once you’re ready to cut, you need to prepare your cutting mat. The mat helps keep your material in place while the machine cuts.
- Clean the Mat: Ensure your cutting mat is free from dust and debris. This enhances adhesion.
- Apply Material: Place the material on the mat, ensuring it is aligned with the corner.
- Secure It: Press down firmly to secure the material onto the mat.
With your mat ready, it’s time to load it into the machine.
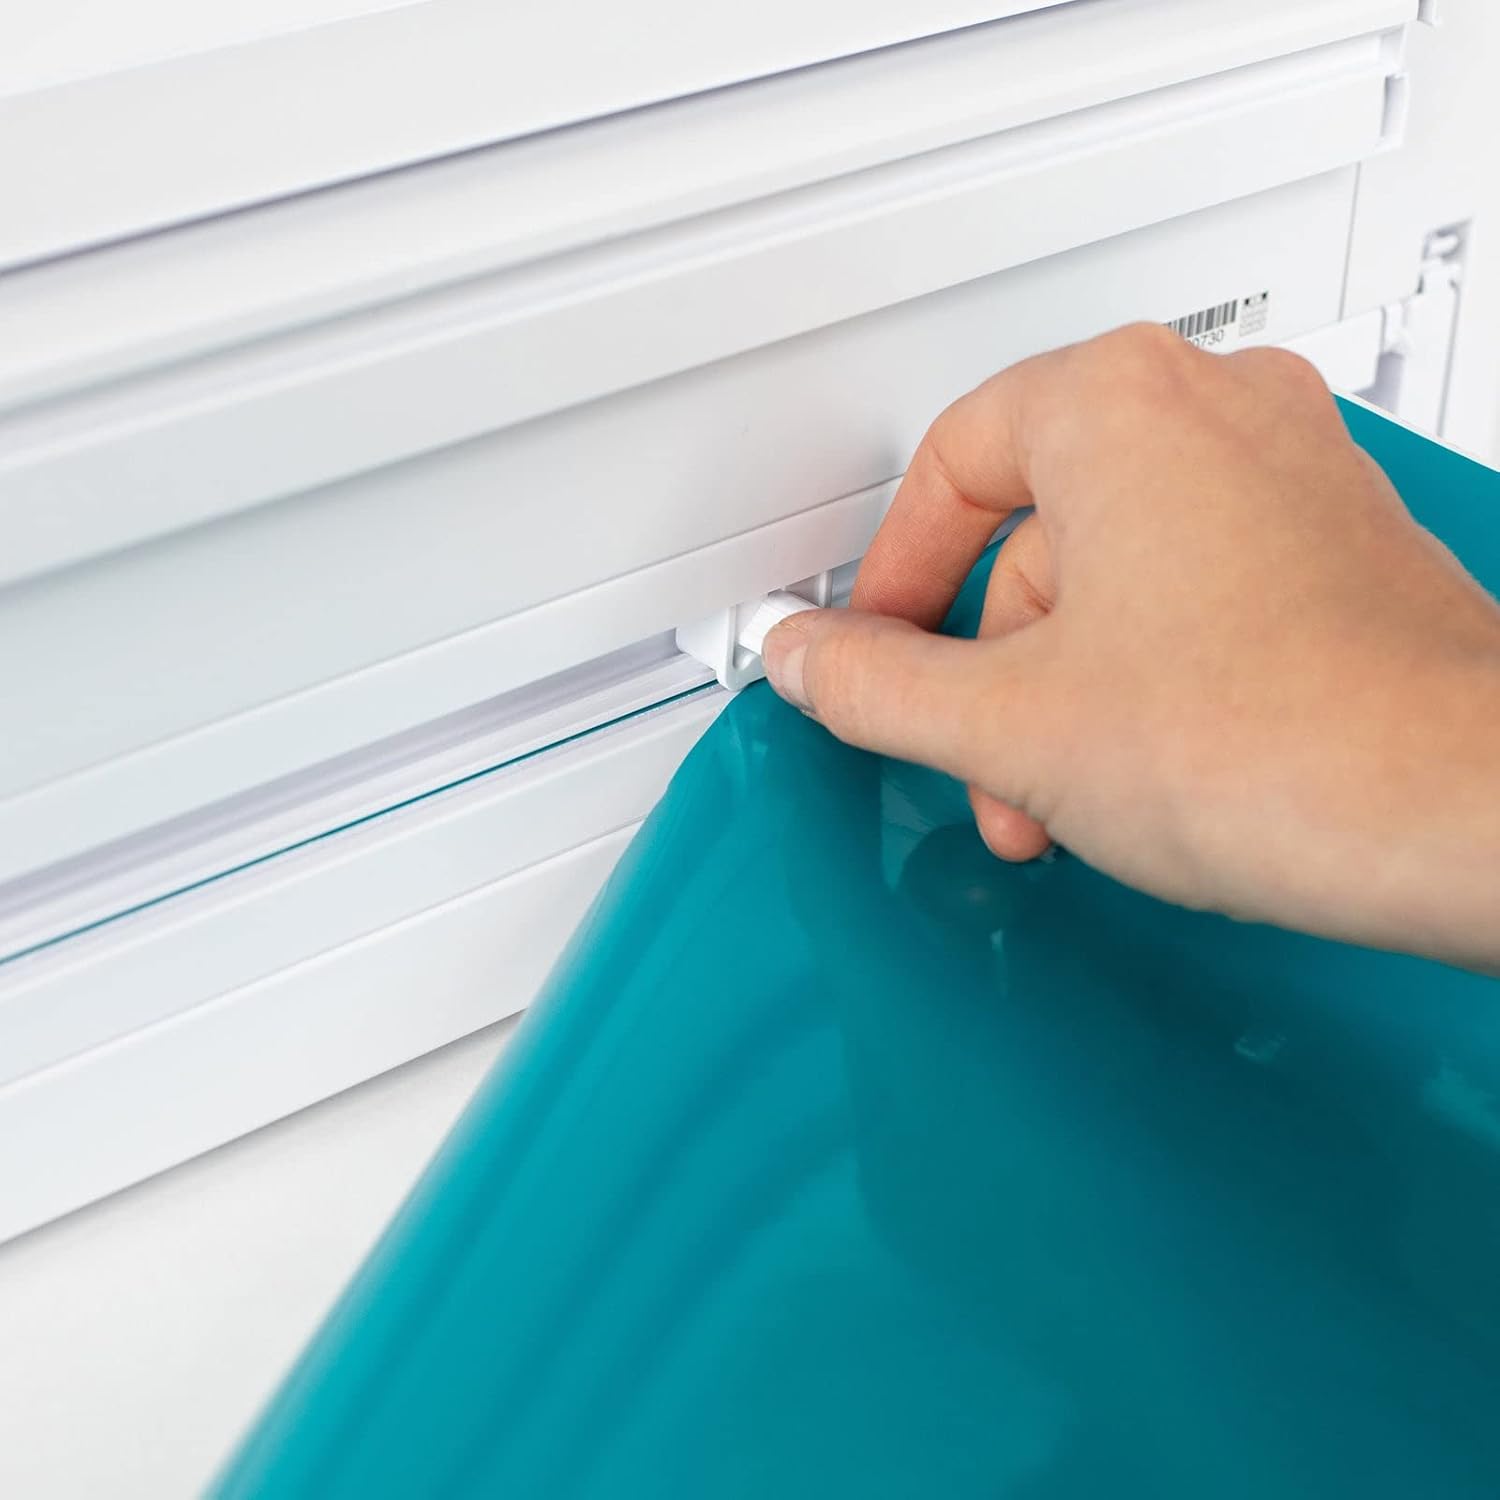
Loading Your Mat
The Silhouette Cameo 4 uses a mechanism that automatically loads your cutting mat and material. Here’s how to do it:
- Ensure your machine is powered on and the Bluetooth is connected or the USB cable is attached to your computer.
- Press the “Load” button on the touchscreen or the page setup in the software.
- Align the mat with the measurement grid and guide it into the machine until it reaches the rollers.
- Release the mat and wait until you hear the machine beep confirmation.
This process is quick and ensures that everything is aligned perfectly for cutting.
Selecting Cut Settings
Before you start your cut, you need to set the appropriate settings based on the material you are using.
- Open the Send Panel in Silhouette Studio.
- Select your material type from the dropdown menu. The software will automatically suggest the appropriate blade type, speed, and thickness settings.
- If you’re experimenting with a material that isn’t listed, you can adjust the settings manually.
It’s a good idea to do a test cut on scraps to ensure everything is set correctly.
Starting the Cut
Once all preparations are complete, you can start cutting your design:
- Click the “Send” button in Silhouette Studio to begin cutting.
- Watch your machine as it creates your design, but feel free to explore other projects in the meantime.
When the cutting is complete, the machine will beep to let you know.
Finishing Your Project
After the cutting is done, you need to remove your design from the mat and finalize your project.
Unloading the Mat
Carefully unload the mat from the Silhouette Cameo 4 by pressing the “Unload” button on the touchscreen or in Silhouette Studio.
- Gently pull the mat away from the design, ensuring not to rip your cuts.
- Use a spatula tool if necessary to help lift delicate pieces from the mat.
Your design is now ready for the next steps.
Weeding Your Design
If you’re cutting vinyl or intricate designs, you may need to weed out unnecessary portions:
- Use a weeding tool or tweezers to gently remove the excess material.
- Take your time to ensure you don’t accidentally remove essential parts of your design.
Weeding can be intricate, but it’s crucial for achieving a professional-looking project.
Applying Your Design
Once you’ve weeded your design, you can apply it to your desired surface. Here are some tips for application:
- For vinyl projects, use transfer tape to easily position your design on surfaces like walls or mugs.
- For heat transfer vinyl, preheat your heat press or iron before applying to fabric.
Remember to follow the specific application instructions for the material you are using.
Maintaining Your Silhouette Cameo 4
Maintaining your Silhouette Cameo 4 will help extend its lifespan and improve performance. Here are a few essential tips for you to consider:
Regular Cleaning
It’s a good habit to regularly clean your machine to keep it in top condition:
- Blade Maintenance: Ensure the blade remains sharp by cleaning it and checking for any debris.
- Rollers and Sensors: Use a soft cloth to remove dust or particles from the rollers and sensors.
Software Updates
Silhouette America frequently releases updates to improve software functionality. Keep your software up to date for the best performance:
- Open Silhouette Studio.
- Click on “Help” and select “Check for Updates.”
- Download any available updates as prompted.
Managing updates will keep you informed about new features and fixes.
Storing Your Machine
When not in use, store your Silhouette Cameo 4 safely:
- Keep it in a cool, dry place away from direct sunlight.
- Use a dust cover or store it in its original box to protect it from dust and debris.
This will help avoid unnecessary wear and ensure your machine is ready for your next project.
Tips and Tricks for Success
Once you’ve mastered the basics of using your Silhouette Cameo 4, consider these additional tips and tricks to enhance your crafting capabilities:
Experiment with Materials
Don’t be afraid to try different types of materials:
- Try cutting felt, thicker cardstock, or even leather with the correct settings and blade.
- Experimenting broadens your creativity and can lead to discovering new crafting techniques.
Utilize Online Resources
The crafting community is vast, with plenty of resources available:
- Join online forums or groups dedicated to Silhouette users.
- Watch video tutorials or read blogs where experienced users share tips and projects.
Being part of a community can offer valuable insights and inspiration for your projects.
Practice, Practice, Practice
The more you use your Silhouette Cameo 4, the better you’ll become:
- Create simple projects at first, then gradually tackle more complex designs.
- Don’t be discouraged by mistakes; learn from them and refine your skills.
Embrace the learning process. Crafting is as much about experimenting as it is about creating finished products.
Conclusion
Understanding how to use the Silhouette Cameo 4 can seem overwhelming at first, but with practice and knowledge, you’ll find endless possibilities for your projects. From setting it up to exploring different crafting techniques, this machine will unlock your creative potential. Embrace your journey as you create beautiful, customized items that reflect your unique style and personality. Remember that every expert was once a beginner, so keep experimenting and enjoy the crafting process!
Thinking of a purchase of a Silhoute Cameo 4? Check out our review here https://feelncrafty.com/silhouette-cameo…bluetooth-review/
Leave a Reply