
Have you ever looked up at the sky and been mesmerized by the beauty of clouds? Whether they are fluffy white formations or moody gray stratus, painting clouds can add depth and emotion to your artwork. If you’ve been curious about how to capture that ethereal quality in your paintings, you’re in the right place!
Understanding Different Types of Clouds
Before you pick up your brush, it’s essential to understand the various types of clouds and their characteristics. Each cloud type has its unique shape, color, and texture, which can impact how you paint them.
Cumulus Clouds
Cumulus clouds are the classic cotton-like formations you often see on a sunny day. They are characterized by their puffy, white tops and flat bases. When painting cumulus clouds, you might want to exaggerate their fluffiness to give them a whimsical feel.
Stratus Clouds
Stratus clouds are typically gray and form in layers, covering the sky like a thick blanket. These clouds can create a very different mood compared to cumulus clouds. When painting these, focus on smooth, even strokes to represent their uniformity and soft edges.
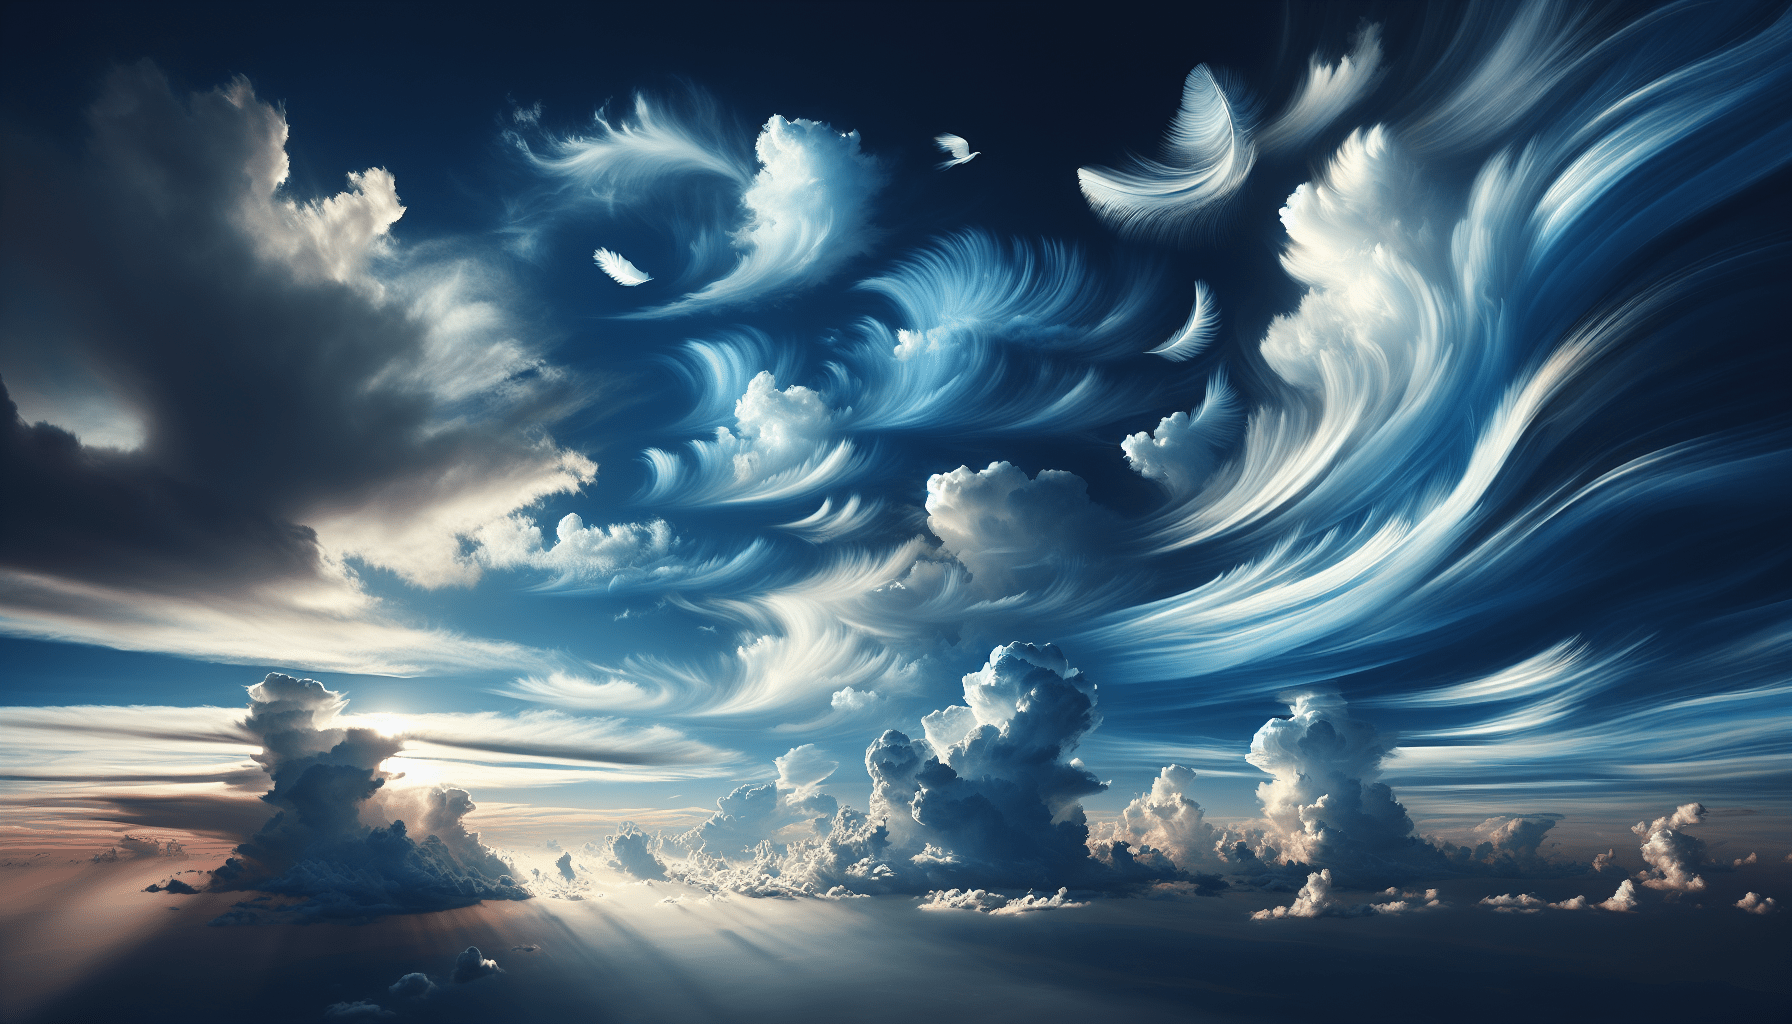
Cirrus Clouds
High in the atmosphere, cirrus clouds are thin and wispy. They often appear white against a blue sky and can add texture to your artwork. Use light, airy strokes to convey their delicate nature.
Choosing Your Materials
The right materials can make a significant difference in how you paint clouds. You don’t need to break the bank, but a few key items will help you achieve the best results.
Paint Types
You can use oil, acrylic, or watercolor paints for cloud painting, each offering distinct advantages.
| Paint Type | Characteristics | Best Use |
|---|---|---|
| Oil | Blends well, slow drying time | Detailed work with soft edges |
| Acrylic | Quick-drying, versatile for layering | Quick sketches and experiments |
| Watercolor | Transparent, allows for beautiful blending | Soft, ethereal clouds |
Brushes and Tools
A variety of brushes and tools will help you manipulate the paint for different effects.
| Brush Type | Use |
|---|---|
| Flat Brush | Great for applying broad strokes |
| Fan Brush | Perfect for creating cloud textures |
| Round Brush | Useful for fine details and edges |
| Sponge | Ideal for softening colors and edges |
Preparing Your Canvas
Before you start painting, ensure your canvas is primed and ready. A well-prepared canvas can enhance your painting experience.
Priming
If you’re using a raw canvas, applying a base coat is key. A white or light blue underpainting can help reflect light and provide a suitable backdrop for your clouds.
Sketching
Consider sketching the general shape of your clouds lightly with a pencil. This can give you a guide as you start adding color and texture.
Techniques for Painting Clouds
Now that your materials are ready and your canvas is primed, it’s time to bring those clouds to life.
Layering
Start by applying the base color of your clouds. For cumulus clouds, a soft white or pale blue works best. Gradually layer on darker shades to add depth and dimension. This is particularly effective for depicting shadows within the clouds.
Blending
Blending is an essential technique for cloud painting. Whether using a brush or a sponge, gently merge different colors together to create soft transitions. This will help you achieve that fluffy appearance clouds are known for.
Dry Brushing
Using a dry brush technique can create texture and can resemble the wispy parts of clouds. After dipping your brush in a little paint, remove most of the paint on a paper towel before lightly dragging it over your canvas.
Adding Light and Shadow
Light and shadow play crucial roles in how clouds appear in the sky. By understanding their behavior, you can enhance the realism of your cloud paintings.
Light Source
Identify where your light source is. If the sun is to the right, for example, the left side of the clouds should remain darker, mimicking the way shadows naturally form.
Using Color
The color of clouds can change dramatically based on the time of day. A sunset or sunrise will give clouds warm golden tones, while midday might lean towards cooler whites and blues. Incorporate these hues carefully to create a more striking effect.
Special Effects
Once you are comfortable with the fundamental techniques, you might want to try some special effects to make your clouds stand out even more.
Use of Colors
Experiment with colors outside the typical white and blue. Purples and pinks can add unique enhancements, giving your clouds a more dramatic atmosphere, particularly during sunrise or sunset.
Mixing with Other Elements
Consider including other elements in your sky, such as birds, rainbows, or even stars, in the case of night sky clouds. This can create a more dynamic scene and highlight the clouds themselves.
Common Mistakes to Avoid
Even experienced painters can fall prey to common pitfalls when painting clouds. Here’s what to keep in mind:
Overworking the Canvas
It’s easy to get caught up in the details and keep adding paint, but sometimes less is more. Allowing parts of the canvas to show through can create an ethereal quality.
Ignoring the Background
While focusing on the clouds, don’t neglect the sky’s background. The colors and shades in the sky can affect how your clouds look overall, so ensure they complement each other.
Lack of Variation
Avoid painting clouds in a uniform manner. Variation in size, shape, and color makes your clouds look more natural and realistic.
Practicing Your Craft
Like any skill, practice is key when it comes to painting clouds. Don’t be discouraged if your initial attempts don’t turn out as planned.
Set Aside Time
Set aside dedicated time to practice your techniques regularly. Even short sessions can yield significant improvements over time.
Experiment
Don’t hesitate to experiment with different styles and techniques. Try painting clouds in different weather conditions or times of day to see how it changes their appearance.
Inspirational Resources
Sometimes, the best way to learn is by seeing how others do it.
Online Tutorials
There are plenty of online resources, including video tutorials and courses specifically targeted at painting clouds. These can provide additional insights and tips that you may not find elsewhere.
Art Communities
Joining art communities, whether online or in person, can provide support, feedback, and inspiration. Share your work and learn from others who are also passionate about painting.
Reference Photos
Don’t underestimate the power of reference photos. They can help you understand how various cloud types look in different lighting conditions and settings.
Showcasing Your Art
Once you feel confident in your cloud painting skills, consider ways to showcase your art.
Create a Portfolio
Compile a portfolio showcasing your best work. Include not just completed paintings but also sketches and works-in-progress that demonstrate your process.
Local Exhibitions
Check for local art exhibitions and galleries that accept submissions. It’s a great way to get your art out there and potentially connect with other artists.
Online Presence
Consider setting up an online presence, whether through social media, a personal website, or an art platform. Sharing your work can help you gain visibility and connect with a wider audience.
Conclusion
Painting clouds might seem challenging at first, but with practice, the right materials, and a bit of creativity, you can create breathtaking skies. Remember to be patient with yourself as you learn, and don’t hesitate to seek inspiration from the world around you. Within time, you’ll find your unique style and technique that will make your cloud paintings not just effective but truly stunning. So grab your brushes, and let the sky be your canvas!
Leave a Reply