
Have you ever thought about how air-dry clay could transform your living space? This incredible material offers endless possibilities for crafting unique home décor items, ornaments, and functional pieces without the hassle of a kiln. It’s friendly for beginners and seasoned crafters alike!
What is Air-Dry Clay?
Air-dry clay is a type of modeling clay that hardens when exposed to air. Unlike traditional clay that requires firing in a kiln, this versatile material can be used and left to dry naturally, making it an accessible choice for any DIY enthusiast. It comes in various colors and textures, allowing you to create just about anything you can imagine.
Why Choose Air-Dry Clay for Your Home Décor?
Using air-dry clay for your home projects offers several advantages:
- Ease of Use: If you’re new to crafting, air-dry clay is an excellent starting point. It is easy to mold and shape, letting your creativity flow without any complicated techniques.
- Versatility: The potential for creative expression is enormous! Whether you’re making planters, wall art, or decorative ornaments, air-dry clay can do it all.
- Affordability: Compared to other crafting materials, air-dry clay is quite affordable. You can create a variety of pieces without breaking the bank.
- No Special Equipment Needed: You don’t need a kiln to harden your creations, making air-dry clay a great option if you want to avoid steep initial investments in equipment.
- Endless Possibilities: The only limit is your imagination! With air-dry clay, you can recreate natural textures, experiment with colors, and design functional items.
Fun and Functional Uses of Air-Dry Clay
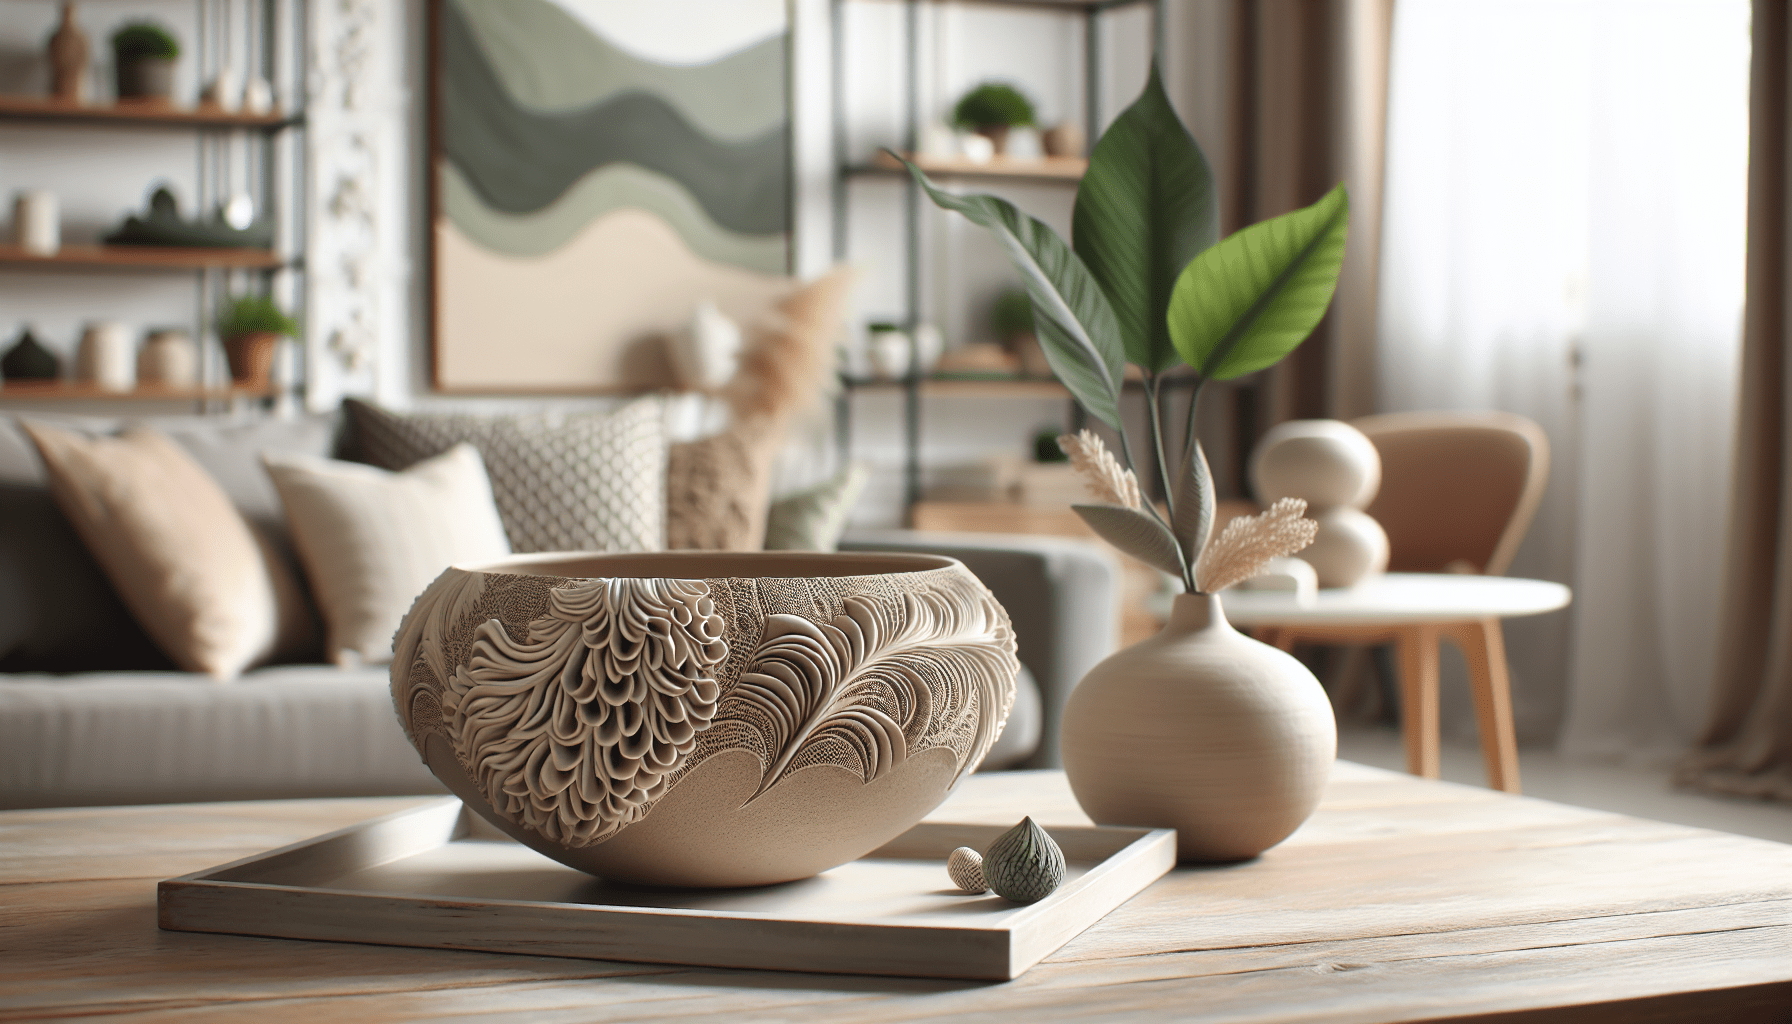
Decorative Bowls
Creating decorative bowls is one of the simplest projects you can tackle with air-dry clay. You can use them to hold keys, small plants, or even jewelry.
How to Make Decorative Bowls
- Gather Your Materials: You’ll need air-dry clay, a rolling pin, a bowl for a mold, a knife, and some paint if you’d like to add color.
- Roll Out the Clay: Start by kneading the clay until it’s soft. Roll it out into a flat circle, ensuring it’s thick enough to hold its shape.
- Shape the Bowl: Gently press the rolled-out clay into the inside of the bowl you’re using as a mold. Use your fingers to smooth out any wrinkles.
- Dry It: Let the bowl dry for at least 24 hours. Once it’s hard, you can paint it or leave it in its natural state for a stunning earthy look.
- Finish Up: Once dry, it’s ready for use! You can enjoy your creation or give it as a thoughtful gift.
Personalized Plant Pot
Air-dry clay is perfect for crafting personalized plant pots, making your green thumb even more enjoyable. Your plants will thrive in these unique pots while adding a personal touch to your home.
Steps to Create a Custom Plant Pot
- Materials Needed: Grab some air-dry clay, a small bowl (for the base), and tools for sculpting and carving.
- Form the Base: Start by rolling clay into a thick piece that can comfortably fit the size of your desired plant. Gently mold the clay around the bowl to create a pot shape.
- Create Drainage Holes: It’s essential to poke a few holes in the bottom to allow excess water to escape. This prevents overwatering and keeps your plant happy.
- Decorate: While the clay is still soft, you can carve designs or add texture. If you wish to paint, let it dry completely first.
- Finishing Touches: Once dry, plant your favorite succulent or flower. Your personalized touch adds character and charm to your living space.
Wall Art and Hangings
Why not add a splash of creativity to your walls with stunning air-dry clay art? You can understand its versatility as you paint, shape, and create pieces that reflect your style.
Creating Wall Art
- Prepare Your Clay: Take a good amount of air-dry clay and knead it until it becomes pliable.
- Shape Your Design: Use a rolling pin to flatten the clay. From there, you can freehand shapes or use cookie cutters to make specific designs.
- Attach Hanging Hardware: If your design is a bit heavy, consider adding a loop of string or wire before it dries for easy hanging.
- Paint and Finish: After your art has dried, this is your chance to express yourself! Use acrylic paint to create bold patterns or a soft finish.
- Hang It Up: Once it’s fully dry, find the perfect spot on your wall to showcase your new masterpiece.
Unique Ornaments for Every Occasion
Air-dry clay can also be shaped into unique ornaments perfect for any occasion, whether they’re for the holidays or just for personal decoration.
Crafting Ornaments
- Choose Your Inspiration: Decide what type of ornament you’d like to create; it could be seasonal (like snowflakes or pumpkins) or even year-round charms.
- Shape the Clay: Roll out the clay according to your chosen design, using cookie cutters or your hands to shape them.
- Add Hanging Elements: Use a straw to poke a hole at the top of each ornament for stringing.
- Dry and Decorate: Let your ornaments dry and then paint or gloss them for an added sparkle.
- Showcase Your Creativity: Hang them on trees, in windows, or give them as gifts, and share the joy of your creations!
Home Organization Solutions
Air-dry clay can also be highly functional. You can create stylish organizers for your workspace, kitchen, or bathroom.
Making Storage Solutions
- Gather Materials: You’ll need a base for your organizer, such as a square or rectangular shape, depending on the space you want to utilize.
- Form Your Base: Roll the clay out flat and then cut to the desired size. Use sections to create compartments.
- Design Compartments: Use smaller pieces of clay to construct walls or dividers within your organizer.
- Decorate: Once dry, you can paint your organizer to match your décor or keep it natural for a minimalist vibe.
- Use It: Once completed, fill it with items like pens, makeup brushes, or kitchen utensils to keep your space tidy.
Candle Holders
Making candle holders from air-dry clay is another delightful project that can brighten up your space. They can be customized to fit any theme or occasion.
Steps for Creating Candle Holders
- Collect Supplies: You’ll need air-dry clay, a candle (to use as a mold), and sculpting tools.
- Mold the Clay: Start by shaping a base for your candle holder. Make sure it’s wide enough for stability.
- Create the Candle Slot: Carefully push the candle into the center to create an impression. This slot should fit snugly.
- Add Designs: Personalize your holder with textures or patterns that resonate with your personal style.
- Finish and Light Up: Allow the holder to dry fully. Once complete, pop in your candle, light it up, and enjoy the ambiance!
Personalized Coasters
Coasters are another practical and fun project that can blend functionality with artistry. Your personalized coasters will impress guests and protect your surfaces.
Crafting Coasters
- Material Collection: Grab your air-dry clay and other desired paint or decorations.
- Shape the Coasters: Roll out the clay and use a round object or cookie cutter to create uniform circles for coasters.
- Design Element: Add unique textures or paint to make each coaster stand out.
- Let Them Dry: After shaping and decorating, allow the coasters to dry completely.
- Usage: Use them to protect your furniture while making a stylish statement.
Decorative Wall Planters
If you love plants, decorative wall planters made from air-dry clay could be your new favorite project. They save space while adding greenery to your walls.
Creating Wall Planters
- Materials Needed: You’ll need a slab of air-dry clay, a cutting tool, and some succulent plants.
- Form the Planters: Roll out the clay into a rectangular shape that can comfortably cradle a plant.
- Create Drainage: Just like before, with your wall planters, add holes for drainage to ensure plant health.
- Add Hanging Elements: Create a loop at the back for easy wall mounting.
- Dry and Decorate: Once dry, paint and hang on your wall, then fill them with your favorite plants.
Maintenance and Care
While air-dry clay is simple to work with, certain precautions will help extend the life of your creations:
- Keep Dry: Place your air-dry clay items in a dry area to prevent moisture from damaging them.
- Display Wisely: Avoid direct sunlight to prevent fading if you used paint or color enhancements.
- Gentle Cleaning: If your items get dirty, gently wipe with a damp cloth. Avoid soaking in water, as it can weaken the clay.
Conclusion
Air-dry clay has opened up a world of creativity for anyone looking to add a personal touch to their home décor. You can make unique pieces, from functional items like coasters and organizers to beautiful wall art. The best part? It’s easy and fun to work with!
So go ahead, gather your materials, and let your imagination lead the way. Whether you’re crafting for yourself or gifting to loved ones, your creative journey with air-dry clay is bound to be rewarding. How will you use air-dry clay to enhance your home décor? The possibilities are endless!
Leave a Reply