
How To Fire Pottery At Home
So, you’ve created some beautiful pottery pieces, and now it’s time to fire them at home. But how exactly do you go about doing that? In this guide, we’ll walk you through the steps of firing pottery at home, the materials you’ll need, and provide some tips to help you achieve successful results.
Types of Pottery Firing
Before you start the firing process, it’s essential to understand the different types of pottery firing methods. There are two main methods: bisque firing and glaze firing.
Bisque Firing
Bisque firing is the initial firing that pottery goes through to transform it from clay into a durable ceramic material. This firing process removes any moisture from the clay and hardens it. Bisque firing is typically done at a lower temperature than glaze firing, usually around 1800-1940 degrees Fahrenheit.
Glaze Firing
Glaze firing is the second firing that pottery undergoes after it has been bisque fired. This firing process is essential for applying and melting glazes onto the surface of the pottery, creating a finished look. Glaze firing is done at a higher temperature than bisque firing, typically around 2200-2300 degrees Fahrenheit.
Materials Needed
Before you start the pottery firing process, gather all the necessary materials. Here’s a list of what you’ll need:
- Pottery Kiln: A kiln is a specialized oven used for firing pottery. There are different types of kilns available, such as electric, gas, and wood-fired kilns.
- Kiln Furniture: This includes shelves, posts, and stilts that help support your pottery pieces during firing.
- Pyrometer: A pyrometer is a tool used to measure the temperature inside the kiln.
- Kiln Wash: Kiln wash is a protective coating applied to kiln shelves to prevent pottery from sticking.
- Tools: Pottery tongs, gloves, and a kiln stand are essential tools for handling pottery during firing.
- Safety Equipment: Always wear safety goggles and a mask when working with pottery materials.
Preparing Your Pottery for Firing
Before placing your pottery pieces in the kiln, it’s essential to prepare them properly. Here’s how you can do that:
Cleaning and Inspecting
Inspect each pottery piece for any cracks, rough edges, or imperfections. Smooth out any rough areas using sandpaper or a sponge. Clean the pieces thoroughly to remove any dust or debris that could cause issues during firing.
Glazing
If you plan to glaze your pottery, apply the glazes evenly and allow them to dry completely before firing. Make sure to leave the bottom of the pottery unglazed to prevent sticking to kiln shelves. Follow the manufacturer’s instructions for the best results.
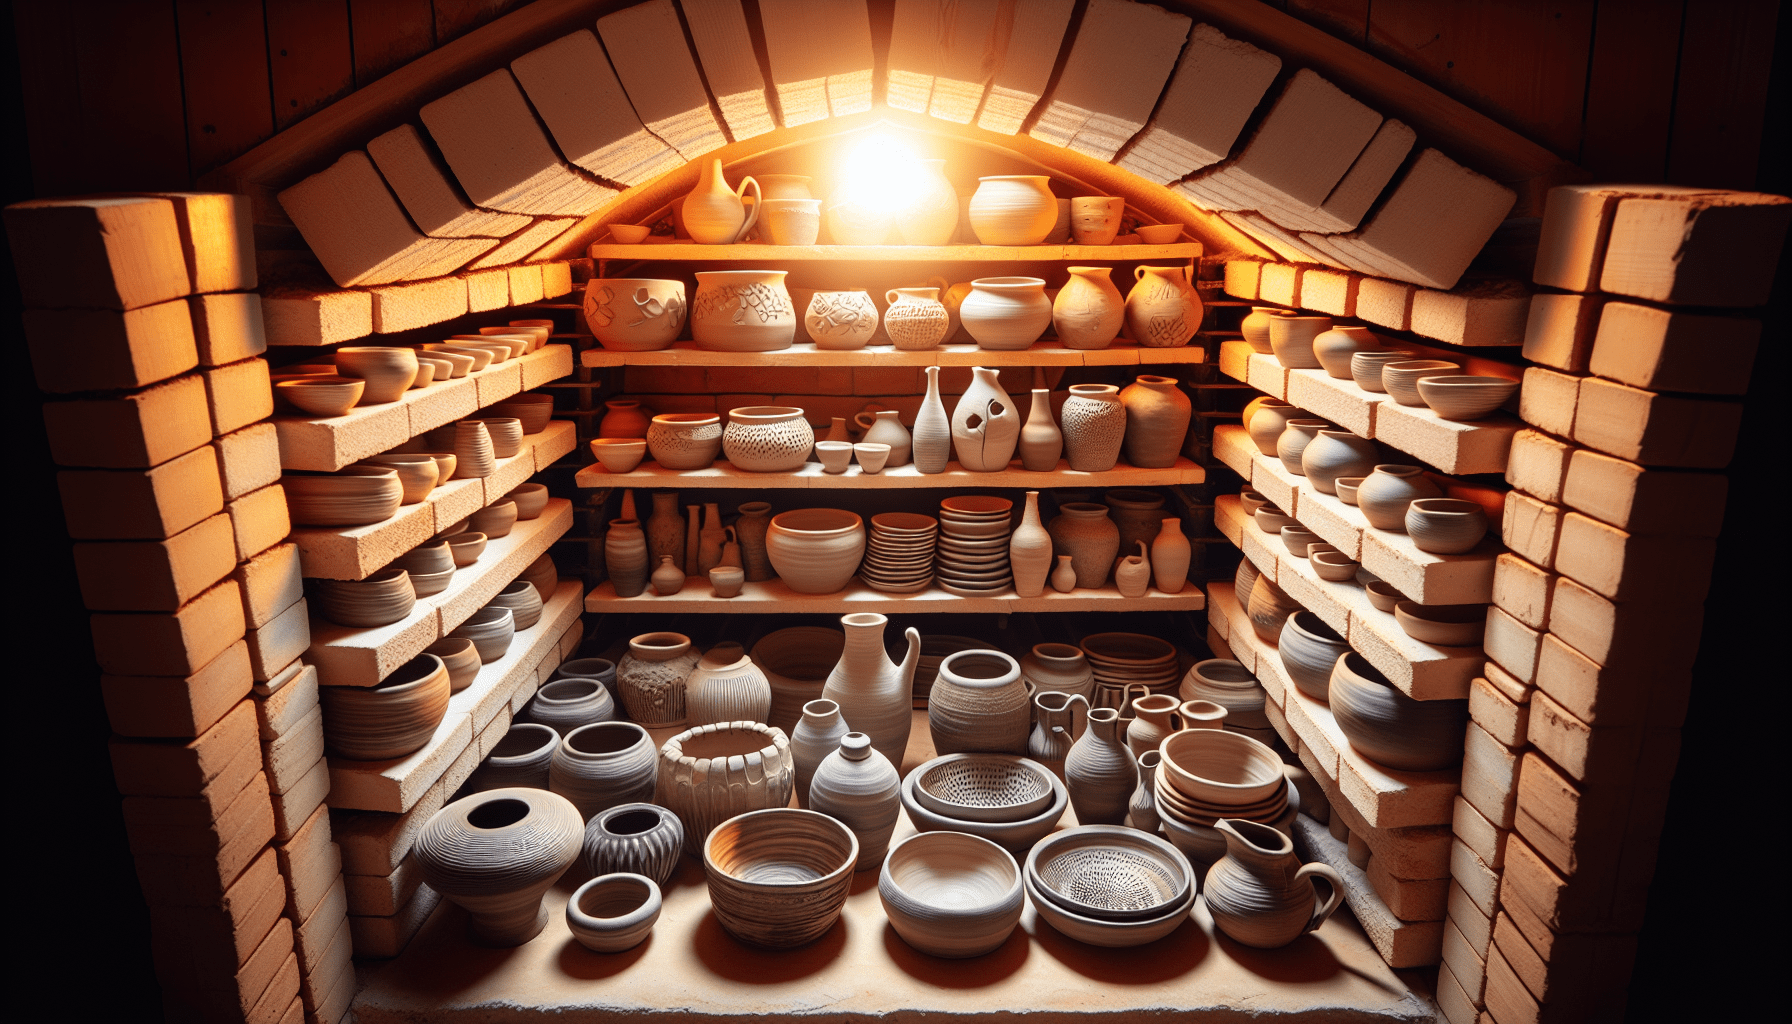
Loading the Kiln
Properly loading the kiln is crucial for successful firing. Here are some tips for loading your pottery pieces into the kiln:
Placement
Place your pottery pieces on kiln furniture, ensuring they are spaced apart to allow proper airflow during firing. Avoid placing pieces too close to the kiln walls or elements, as this can cause uneven firing.
Stacking
Stack pottery pieces of similar sizes and shapes together to ensure even heating. Place taller pieces on the bottom shelves and shorter pieces on the top shelves.
Firing Schedule
Follow a firing schedule that gradually increases the temperature inside the kiln to prevent thermal shock to the pottery. Refer to the manufacturer’s instructions for the appropriate firing schedule for your clay and glazes.
Firing Process
Now that your pottery pieces are loaded into the kiln, it’s time to start the firing process. Here’s how you can fire your pottery pieces at home:
Bisque Firing
- Preheat the Kiln: Start by preheating the kiln to around 200 degrees Fahrenheit to remove any remaining moisture from the pottery.
- Ramp Up the Temperature: Increase the temperature gradually to around 1800 degrees Fahrenheit, or the recommended bisque firing temperature for your clay.
- Cool Down: Once the bisque firing is complete, allow the kiln to cool down slowly before opening the door to prevent thermal shock to the pottery.
Glaze Firing
- Apply a Glaze Firing Schedule: Use a specific glaze firing schedule provided by the manufacturer of your glazes. Follow the schedule carefully to achieve the best results.
- Cooling Period: After the glaze firing is complete, allow the kiln to cool down slowly to avoid damage to the pottery from rapid cooling.
Checking Your Pottery
Once the firing process is complete, it’s essential to check your pottery pieces for any issues. Here’s what you should look for:
Cracks or Breaks
Inspect each piece for any cracks or breaks that may have occurred during firing. If you notice any damage, you may need to refire the piece or make repairs.
Glaze Quality
Check the quality of the glaze on your pottery pieces. Look for any areas where the glaze may have run or pooled unevenly. You may need to adjust your glazing technique for future firings.
Warping
Inspect your pottery pieces for any signs of warping or distortion during firing. This can occur if the pieces were not stacked or placed in the kiln correctly. Make adjustments for the next firing to avoid warping.
Conclusion
Firing pottery at home can be a rewarding experience, but it requires careful preparation, attention to detail, and a good understanding of the firing process. By following the steps outlined in this guide and using the right materials and techniques, you can achieve successful results and create beautiful pottery pieces right in your own home. Remember to take your time, be patient, and enjoy the process of firing pottery at home.
Leave a Reply