
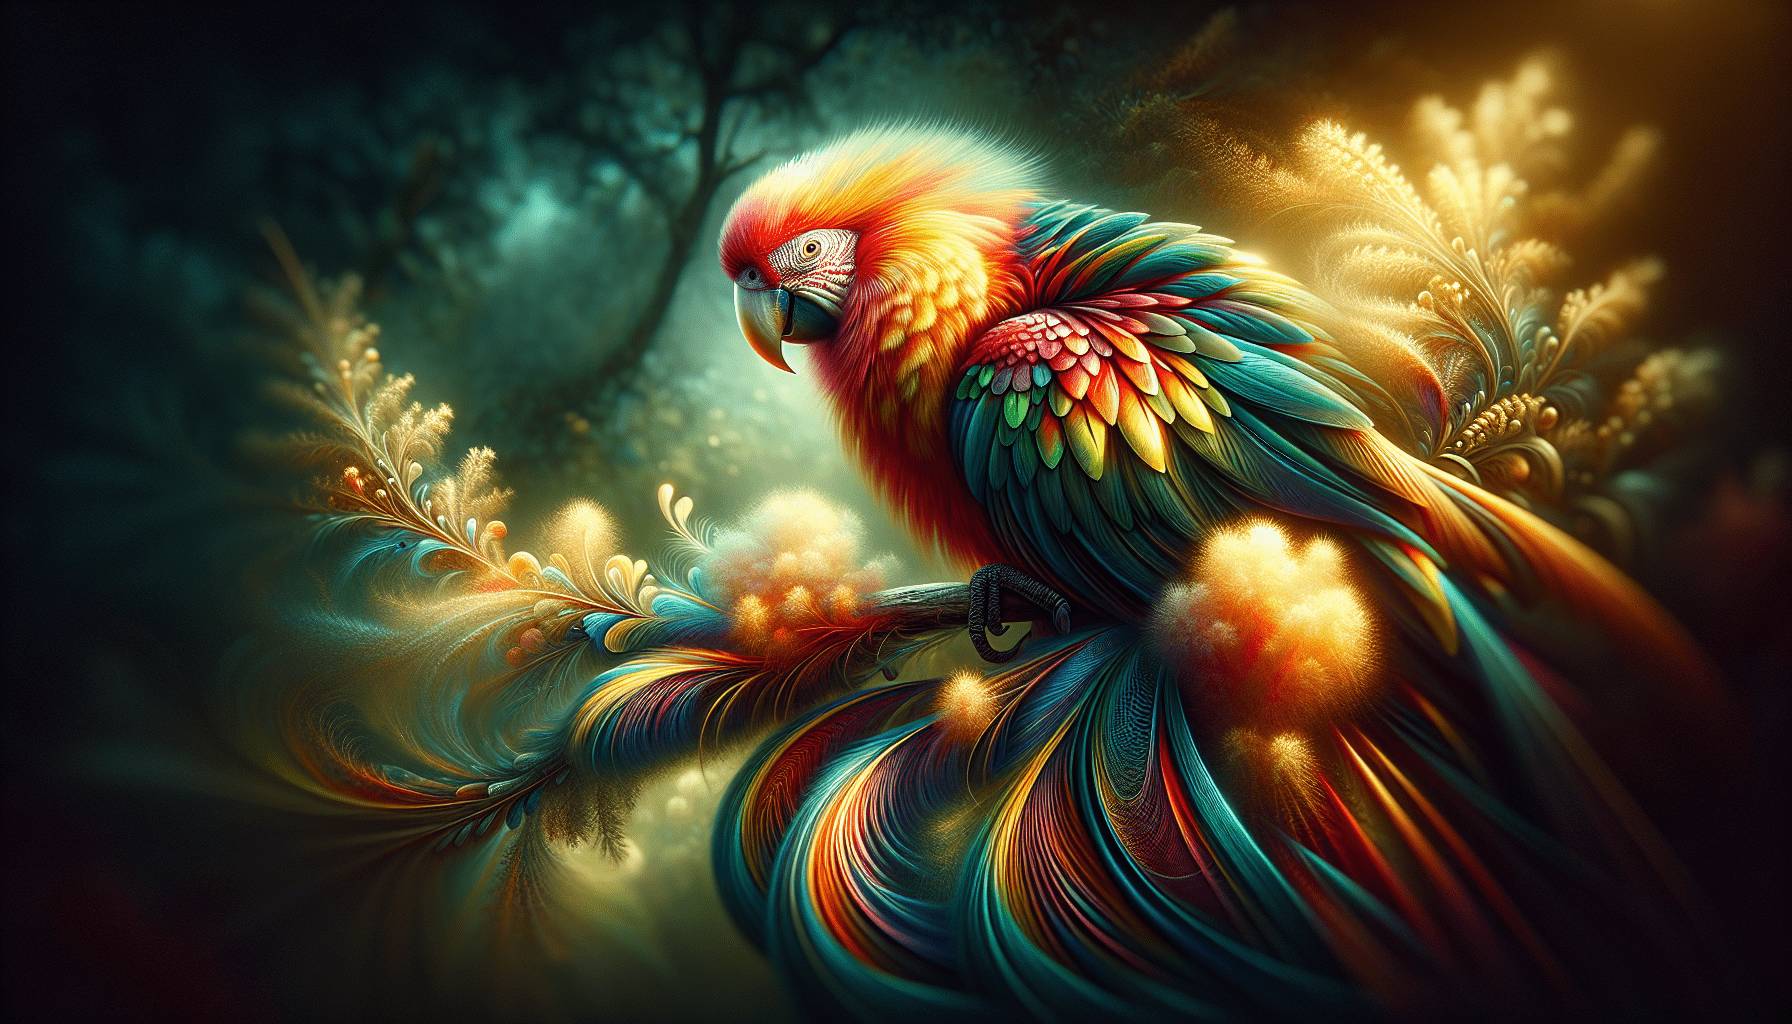
What makes capturing the essence of animal fur and feathers so captivating for you? Whether it’s the silky sheen of a cat’s coat or the vibrant hues of a parrot’s plumage, the textures found in the animal kingdom can present both a challenge and a joy for any artist. Mastering these elements opens up new avenues for your creative expression.
Understanding Animal Anatomy
To accurately paint animals, a solid understanding of their anatomy is essential. Familiarizing yourself with the bone structure and muscle groups can significantly influence how you depict fur and feathers, ultimately leading to a more realistic representation.
Studying the Structure
Start by observing images or live subjects of the animals you wish to paint. Notice the shape and positioning of bones, the flow of muscles, and how they all contribute to the overall silhouette. Take the time to sketch these elements lightly; this groundwork will serve you well in achieving proportionate and dynamic poses.
Proportions and Poses
When considering proportions, it’s essential to compare the size of the head to the body, the length of limbs, and overall symmetry. Understanding typical poses of different animals enhances your ability to convey action and personality in your artwork. Always sketch a few quick poses to warm up before diving into your detailed work.
Choosing the Right Tools
Your choice of tools can significantly influence the final look of your painting. Selecting the right brushes, paints, and surfaces is crucial to capturing the diversity of textures that animals possess.
Brushes and Their Uses
Different brushes offer various effects. Here’s a simple guide to help you choose:
| Brush Type | Use Case |
|---|---|
| Flat Brush | Great for broad strokes and backgrounds. |
| Round Brush | Perfect for details and fur texture. |
| Fan Brush | Ideal for replicating fur and feather patterns. |
| Filbert Brush | Versatile for blending and creating soft edges. |
As your confidence grows, experiment with different brush types to see how each contributes to your unique painting style.
Paint Selection
Choosing the right type of paint can also dramatically affect your work. Acrylics are excellent for layering colors quickly without much drying time. Watercolors offer a softer, more translucent effect, while oils provide rich pigmentation and smooth blending capabilities. Depending on the texture you want to achieve, select accordingly.
Observing and Capturing Reference Images
When painting animals, reference images are invaluable. They can guide your understanding and help you replicate textures more accurately.
Quality over Quantity
Focus on high-quality images that showcase the animal in good lighting. Images that highlight the texture of fur or feathers will be particularly helpful. Aim for a mix of angles and poses, which can help you grasp your subject more thoroughly.
How to Analyze Reference Images
When analyzing your reference images, take note of the following:
- Lighting: Observe how light interacts with the animal’s texture. Where are the highlights? Where are the shadows?
- Detail: Pay attention to the specific patterns in fur or feathers. Animals often have unique markings that you don’t want to overlook.
- Color Variations: Notice the subtle variations in color. Natural animals rarely come in just one shade; they display a range that adds realism to your work.
Techniques for Painting Fur
Fur can be one of the more challenging aspects to capture, but with the right techniques, you can elevate your animal paintings to new heights.
Layering for Depth
One effective technique for painting fur is the layering method. Start by laying down a base coat that closely resembles the animal’s fur color. Once dry, add darker and lighter tones to build up depth and dimension. This way, your fur will appear more lifelike.
Use of Brush Strokes
The direction of your brush strokes is paramount when rendering fur. Follow the natural growth pattern of the fur with your brush. For longer fur, use long, sweeping strokes, while for shorter fur, opt for quick, short strokes. A fan brush can also be a fantastic tool for creating the illusion of texture when painting.
Blending Techniques
Blending is essential in creating realistic fur. You can achieve a smooth transition between colors by gently overlapping strokes with a soft-bristled brush. For finer details, consider using a small round brush to precisely define areas of highlighted and shadowed fur.
Techniques for Painting Feathers
Feathers present their own unique challenges and opportunities for artistry. Capturing their intricate details can add an impressive touch to your work.
The Structure of Feathers
Understanding the various parts of a feather—like the quill, shaft, and barbs—allows you to depict them accurately. Feathers are often layered, so keeping that in mind as you work can enhance the realism of your painting.
Color and Light Reflection
Feathers can reflect light in fascinating ways. Trying to mimic this effect with glazes is an effective method. Start with a base color and apply glazes of varying translucency to enrich the feather’s appearance and create sheen. A mixture of colors can tenderly suggest depth, which is crucial for vibrant plumage.
Detailing Techniques
For smaller feathers, use a fine-tipped brush to create detailed barbs. Layer different shades of color and use a flicking motion to imitate the delicate appearance of feathers. Ethereal highlights should be carefully added, drawing from your reference images for accuracy.
Practicing Textures in Painting
Beyond fur and feathers, various textures can appear in your animal paintings. Knowing how to depict different surfaces will add depth and interest to your work.
Capturing Skin Texture
Some animals have distinct skin textures, such as scales or wrinkles. For painting scales, you can use a technique similar to that used for hair, but with smaller and more repetitive strokes. It’s all about patience; take your time to ensure precision.
Adding Background Textures
Don’t forget about the surrounding environment! The background should complement your subject while adding context. Consider using techniques like wet-on-wet blending for softer backgrounds that allow your animals to shine.
Practice with Different Animals
To hone your skills, don’t limit yourself to one type of texture. Experiment with various species—dogs, birds, reptiles, or any other animals that inspire you. Each offers unique challenges and opportunities for growth.
Final Touches
Once your painting is near completion, the final touches are what can make the piece truly pop.
Contrast and Highlights
Adding contrasts can elevate your work. Darken shadows to give depth, and gently apply highlights to well-lit areas to ensure each brush stroke stands out. Sometimes, even using a little white paint can dramatically enhance the visual impact.
Consider Framing
Imagine how much pride you’ll feel displaying your finished artwork. A well-chosen frame can elevate your painting, make it feel complete, and draw attention to your hard work.
Sharing Your Work
Finally, consider how you’ll share your art with others. Whether it’s social media, local galleries, or art classes, your creations can inspire others just as learning from them has inspired you. Don’t hesitate to ask for feedback, as this can help you grow even further as an artist.
Conclusion: The Joy of Painting Animals
As you embark on your journey in animal painting, remember that patience and practice are your best friends. Embrace each curve, fluff, and feather, and let your passion guide your brush. Each painting is a step toward mastering the intricate art of fur and feathers, and with time, you’ll find that each stroke brings you closer to capturing the soul of these magnificent creatures.
So, which animal will you paint next?
Leave a Reply