
Have you ever looked at an amazing painting and thought, “I wish I could do that”? If so, this guide is just what you need to get started on your artistic journey. Painting is not only a fantastic way to express yourself, but it can also be incredibly relaxing and rewarding. Whether you’re interested in watercolor, acrylics, or oils, this guide is tailored for beginners like you, so you can learn the essentials and feel confident about picking up your brush.
Understanding the Basics of Painting
Before jumping straight into painting techniques, it’s crucial that you understand some of the basics. These foundational concepts will help you as you begin your artistic journey.
Choosing Your Medium
There are several different types of paint to choose from, each with its own set of characteristics. Familiarizing yourself with these mediums will help you decide which one you’re most interested in working with.
| Medium | Description | Drying Time | Ease of Use |
|---|---|---|---|
| Watercolor | Transparent and fluid, often used for soft landscapes | Quick (minutes) | Moderate |
| Acrylic | Fast-drying and versatile; can mimic oils and watercolors | Quick (30 mins) | Easy |
| Oil | Rich texture, slow-drying, allows for blending | Slow (days-weeks) | Challenging |
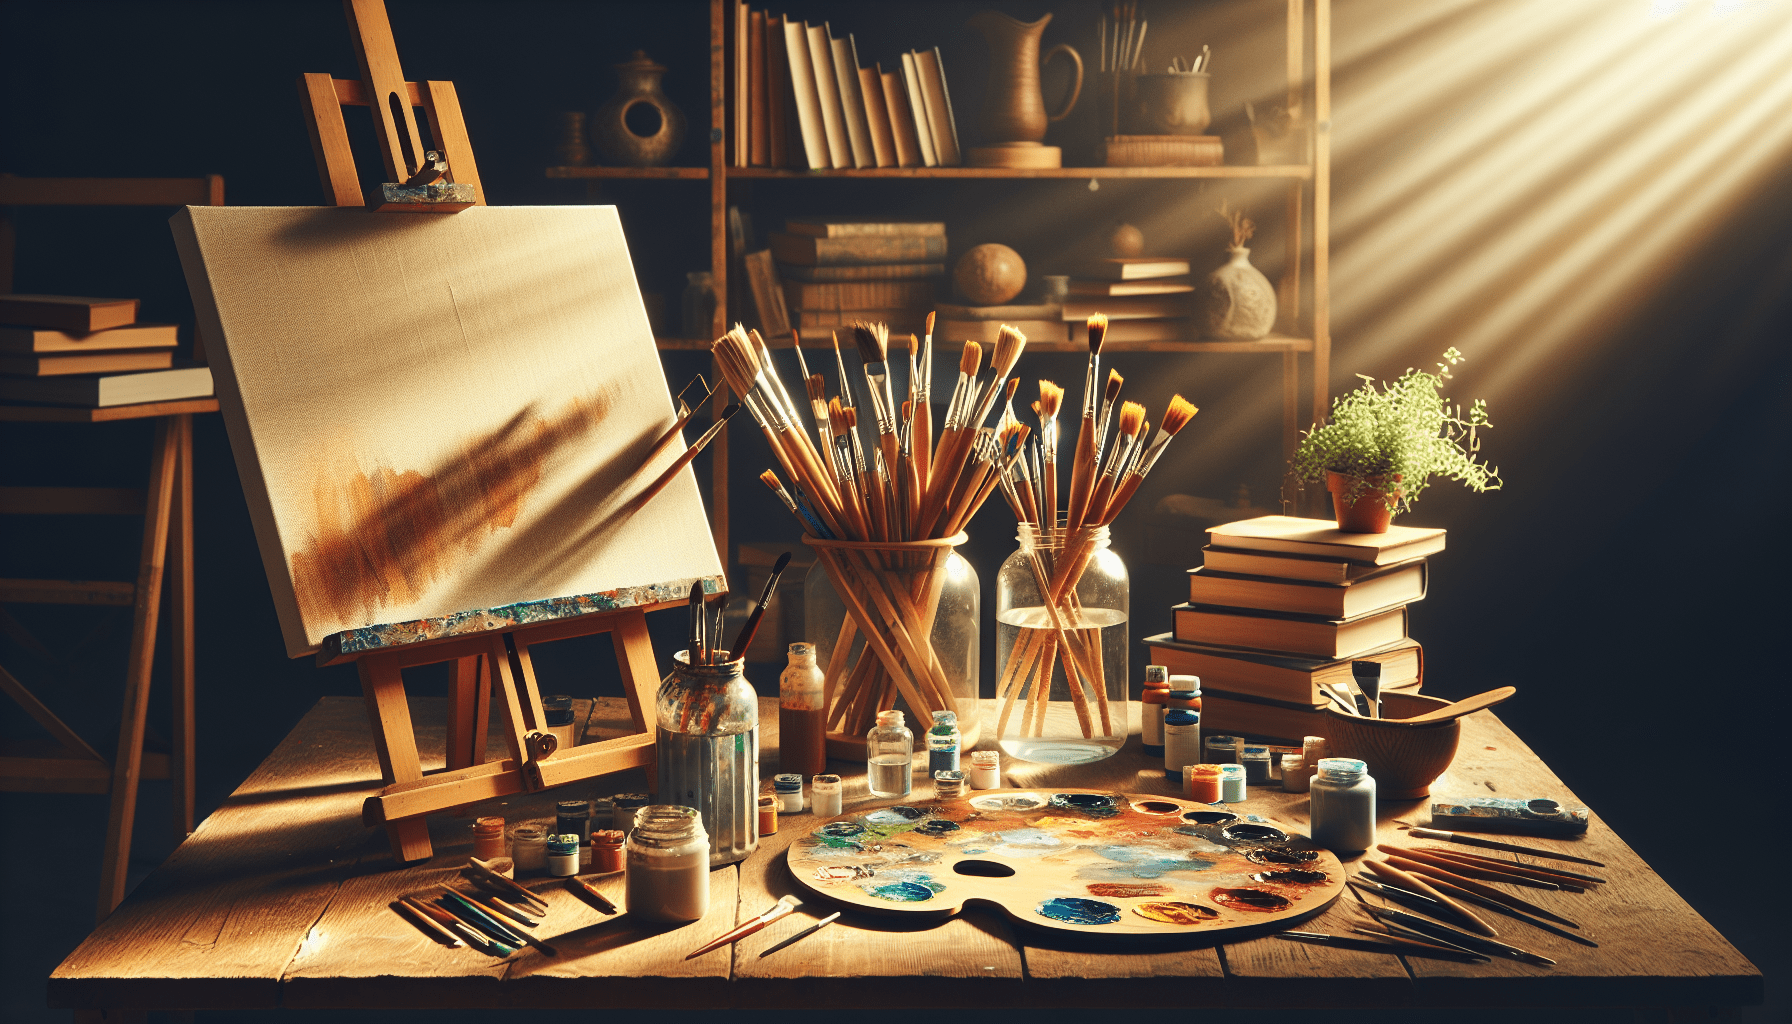
Essential Painting Supplies
Having the right tools can make all the difference in your painting experience. Here’s a list of basic supplies you’ll want to gather for your creative adventure:
- Paint: Choose a medium (watercolor, acrylic, or oil) and buy a basic set of paints.
- Brushes: A variety of sizes and shapes will give you more versatility.
- Palette: Use for mixing colors. A simple plastic or wooden palette works great.
- Canvas or Paper: Choose the right surface for your medium. Beginners often start with watercolor paper for watercolors, and canvases for acrylics and oils.
- Easel: While not strictly necessary, an easel can make painting more comfortable and enjoyable.
- Water Container: Essential for cleaning brushes (and for mixing watercolors).
- Paper Towels or Rags: Handy for cleaning brushes, wiping excess paint, or dabbing your canvas.
Setting Up Your Work Space
The environment where you paint can significantly impact your creativity. Here are some tips for creating an inviting space where you can let your imagination run wild:
- Lighting: Natural light is ideal, but if that’s not possible, ensure you have good artificial lighting, preferably daylight bulbs.
- Comfort: Set up a comfortable chair and keep your supplies within arm’s reach.
- Inspiration: Fill your space with items that inspire you—art books, pictures, or even plants.
Learning Techniques
Once you’ve got your supplies and workspace sorted, it’s time to get creative. There are various techniques you can experiment with, depending on the medium you choose.
Basics of Brush Techniques
Brushwork is an essential skill for painting. Both the type of brush and how you use it can dramatically affect your artwork.
- Stippling: This technique involves tapping the brush to create a dotted effect. Great for textured areas!
- Washing: A wash creates a smooth layer of color and is commonly used in watercolors.
- Layering: Building up colors in layers allows for depth and complexity in your work, especially with acrylics and oils.
Color Theory
Understanding color theory helps you mix and combine colors effectively. Here are some key components:
The Color Wheel
A color wheel visually represents the relationships between colors. It’s a great tool for understanding primary, secondary, and tertiary colors.
- Primary Colors: Red, Blue, Yellow. These colors cannot be mixed from others.
- Secondary Colors: Green, Orange, Purple. Made by mixing two primary colors.
- Tertiary Colors: Made from a primary and a secondary color, such as Blue-Green or Red-Orange.
Color Harmony
Certain color combinations can evoke different feelings and moods. Here are some common harmonies:
- Complementary Colors: Opposite colors on the wheel create vibrant contrasts (e.g., blue and orange).
- Analogous Colors: Colors next to each other on the wheel produce a harmonious feel (e.g., blue, blue-green, green).
- Monochromatic: Varying shades of a single color can create a cohesive look.
Starting Your First Painting
So, you’ve gathered your supplies and learned a few techniques. Now it’s time to roll up your sleeves and get painting! Here’s a simple way to start your first painting:
Selecting a Subject
Choosing the right subject can help you feel more motivated. Whether it’s a still life, a landscape, or an abstract concept, pick something that speaks to you.
Sketching Your Composition
Before applying paint, sketch your composition lightly using a pencil. This will serve as your roadmap.
- Outline: Lightly outline the main components of your subject.
- Proportions: Take care to represent proportions accurately to avoid awkward results later.
Applying the First Layer
Now it’s time to apply your first layer of paint. Here are some steps to follow:
- Start with Background Paint: Often, the background is painted first in larger strokes.
- Use Thin Layers: Especially for acrylics, thin layers allow you to adjust colors more easily.
- Vary Your Brush Strokes: Experiment with different strokes to see what effects you can create.
Building Up the Painting
As you proceed, remember to build up your painting by adding layers, allowing each to dry when needed. Adjust colors, add depth, and don’t hesitate to use different techniques like glazing for effects.
Final Touches
Once your painting feels complete, add finishing touches to enhance the overall look.
- Highlights: Add lighter colors to bring certain parts to the forefront.
- Details: Use smaller brushes for finer details.
- Evaluate: Step back frequently to assess your work and make adjustments as needed.
Overcoming Common Challenges
Even seasoned painters encounter challenges. Here are some common issues you might face and how to resolve them.
Dealing with Mistakes
Making mistakes is a part of learning, so don’t get discouraged! Here are a few ways to address errors:
- Scrape Off: For acrylics, a palette knife works to scrape off unwanted paint.
- Overpaint: If a part doesn’t look right, layer over it once dried.
- Embrace It: Sometimes, what seems like a mistake can lead to unexpected creativity.
Knowing When to Stop
Recognizing when a painting is finished can be tricky. Here are some tips:
- Take Breaks: Step away for a while and return to gain perspective.
- Ask for Feedback: Sometimes, a friend’s opinion can help you decide.
- Trust Yourself: If you feel it’s done, it probably is!
Experimentation and Personal Style
As you build your confidence and skills, don’t hesitate to experiment and develop your personal style. Here are some suggestions to help you along the way:
Trying Different Styles
Every artist has a unique style, but it often takes time to find yours. Experiment with various styles and subjects to see what resonates with you.
- Realism: Focus on painting subjects as they appear in real life.
- Impressionism: Capture light and movement with loose brush strokes.
- Abstract: Express emotions and concepts through colors and shapes without specific representation.
Keeping an Art Journal
Documenting your journey can help you reflect and grow as an artist. Keep an art journal to:
- Record your thoughts and feelings about each piece.
- Experiment with mixed media and sketch new ideas.
- Set goals and track your progress over time.
Joining a Community
Becoming part of a painting community can enhance your experience. Here’s how to connect with fellow painters:
Local Art Classes
Look for classes at local community centers or art schools. Here you can learn new techniques while meeting others who share your passion.
Online Platforms
Many platforms offer communities for artists. Consider joining:
- Social Media Groups: Share your work and get feedback.
- Online Courses: Engage with instructors and other students.
Maintaining Your Supplies
Taking care of your painting supplies is vital to ensure they last. Here are some tips for maintaining your materials:
Cleaning Brushes
Cleaning brushes properly will prolong their life and preserve their shape.
- Watercolors: Rinse brushes with water and reshape them to dry.
- Acrylics: Use soap and water; don’t let paint dry in brushes.
- Oils: Use specific cleaners designed for oil paint.
Storing Paints
Store your paints correctly to avoid spoilage.
- Seal Tightly: Ensure containers are closed to prevent drying.
- Cool, Dark Place: Store paints away from direct sunlight and heat.
Care for Canvases and Paper
Proper storage will keep your artwork safe and sound.
- Store canvases upright to prevent warping.
- Keep paper in a flat, dry space to avoid creases.
Conclusion
Letting your creativity flow through painting can be one of the most enjoyable experiences. With this guide, you now have the tools, techniques, and tips to get started on your artistic adventure. So gather your supplies, clear some space, and allow yourself to paint without fear. Remember, the only way to grow as an artist is to keep creating and experimenting. Enjoy the journey!
Leave a Reply